
Installing a Microchip Petflap
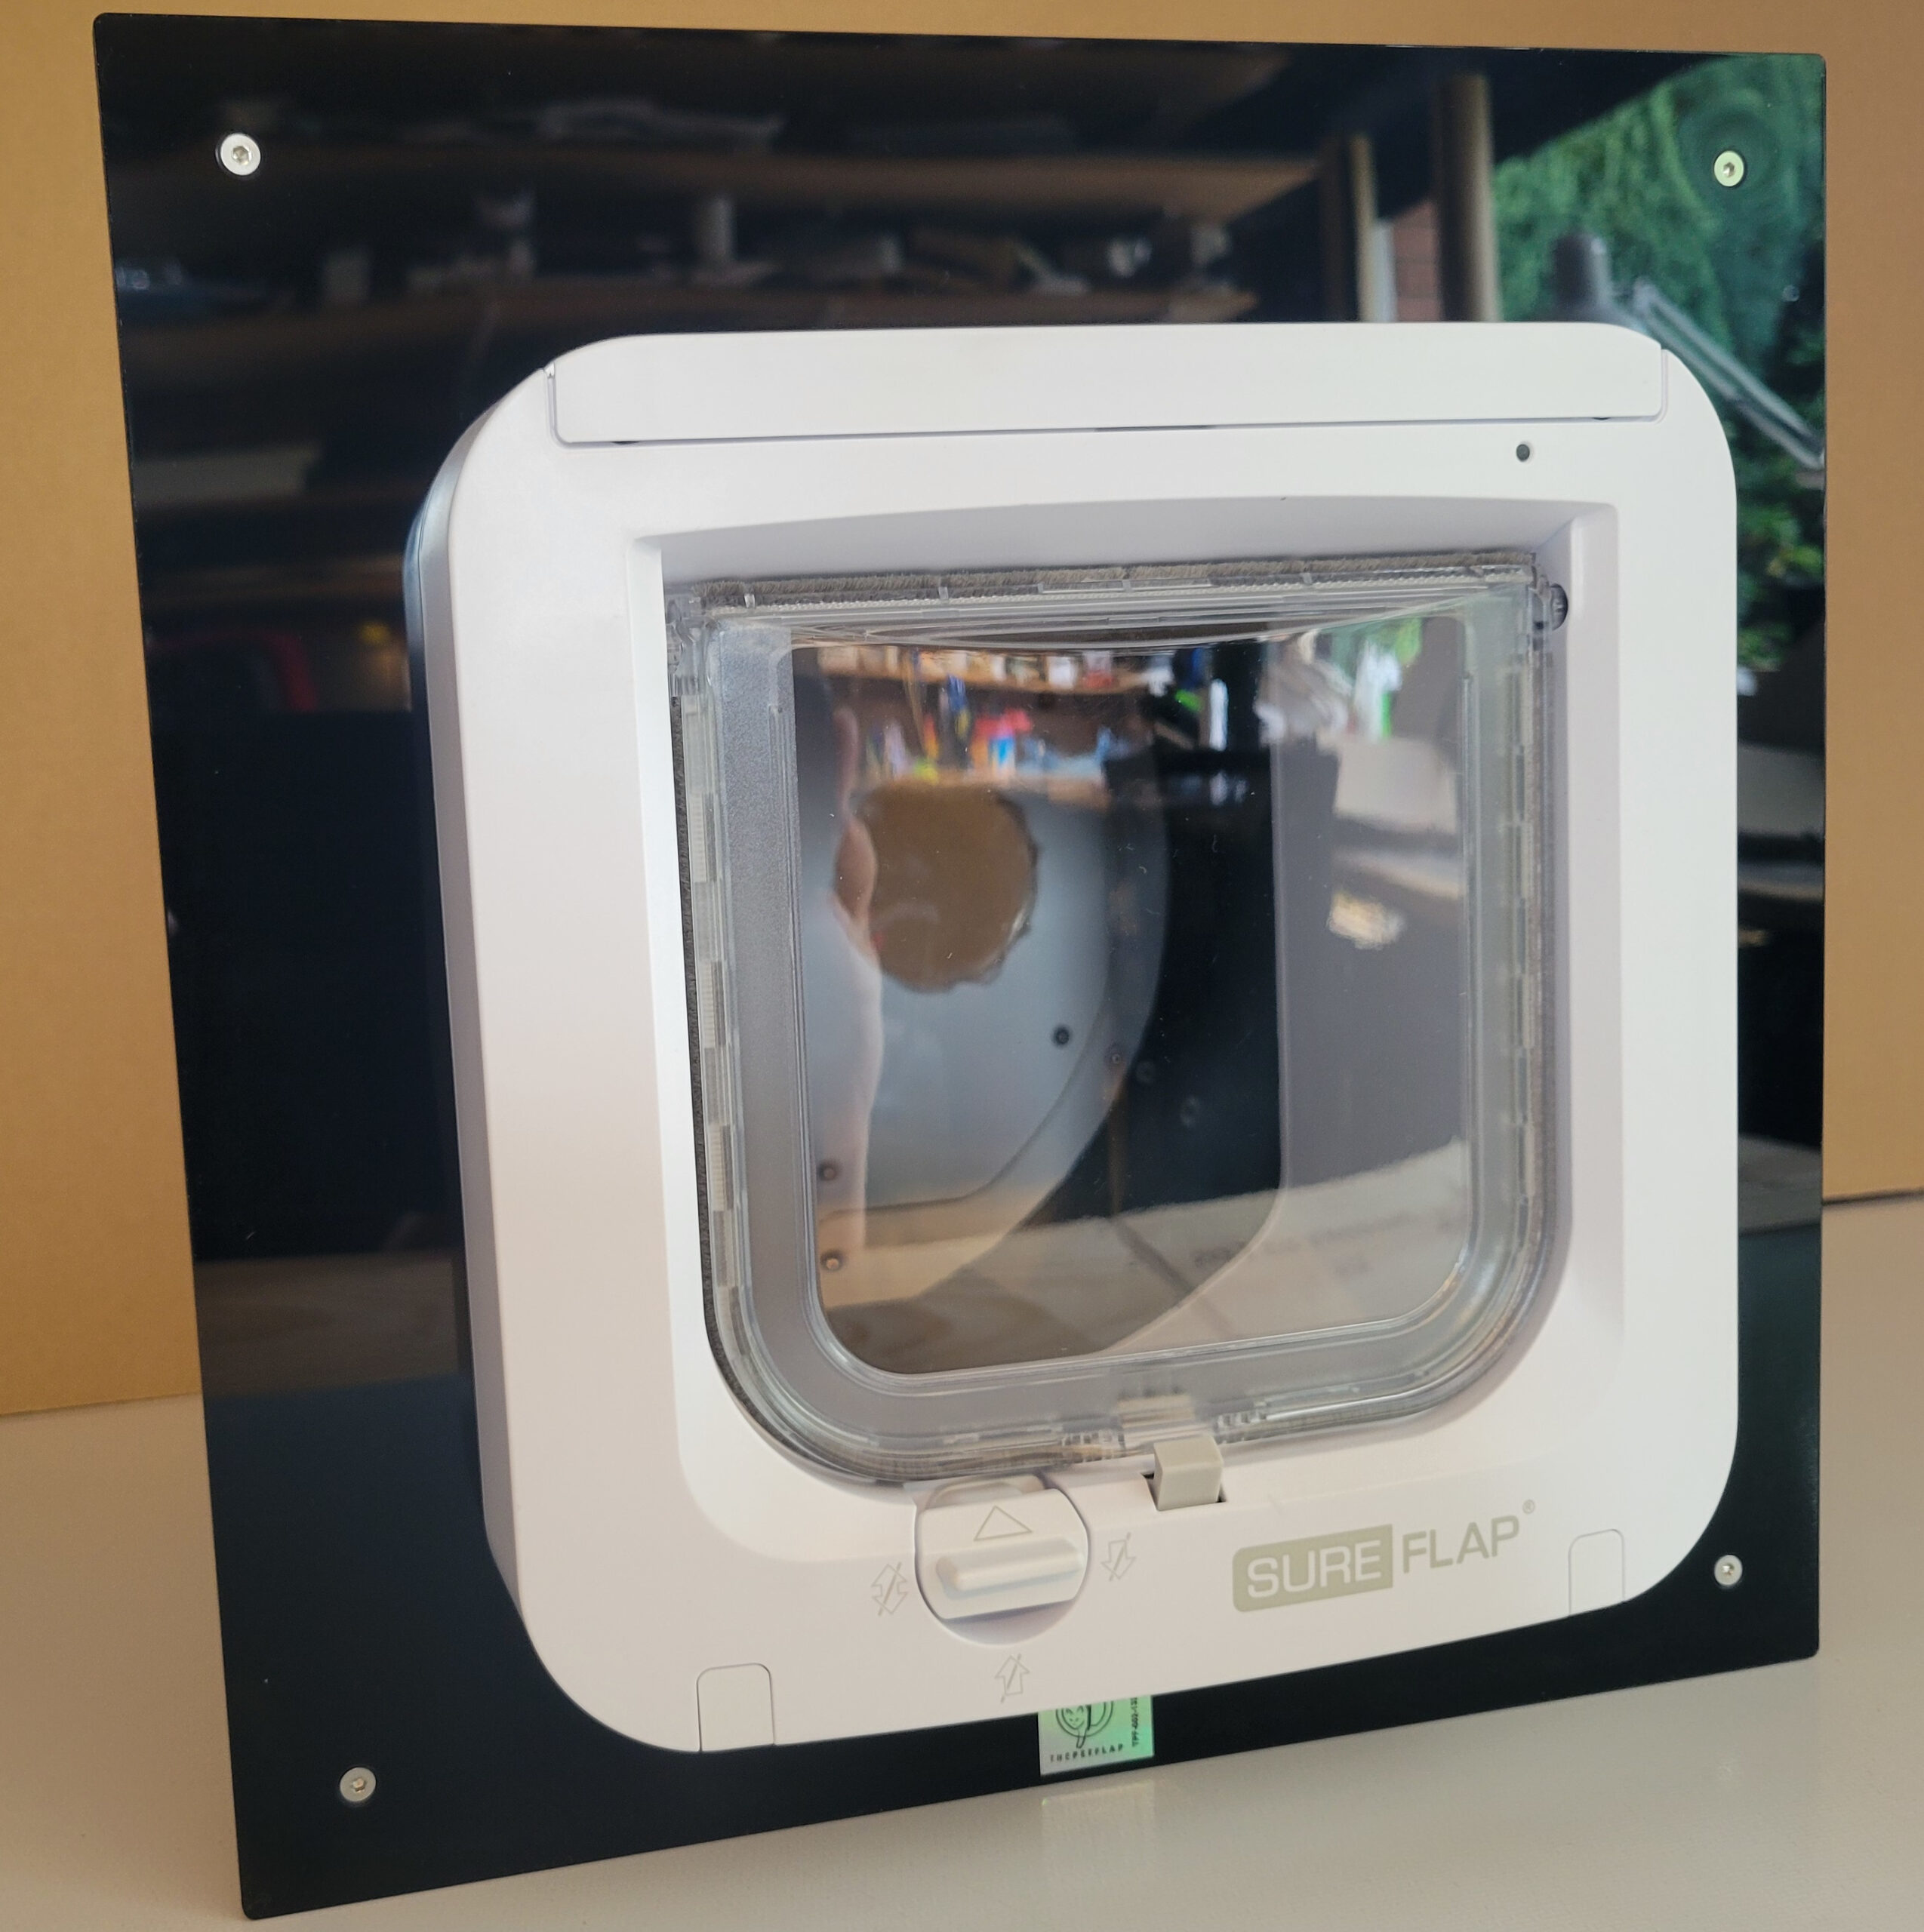
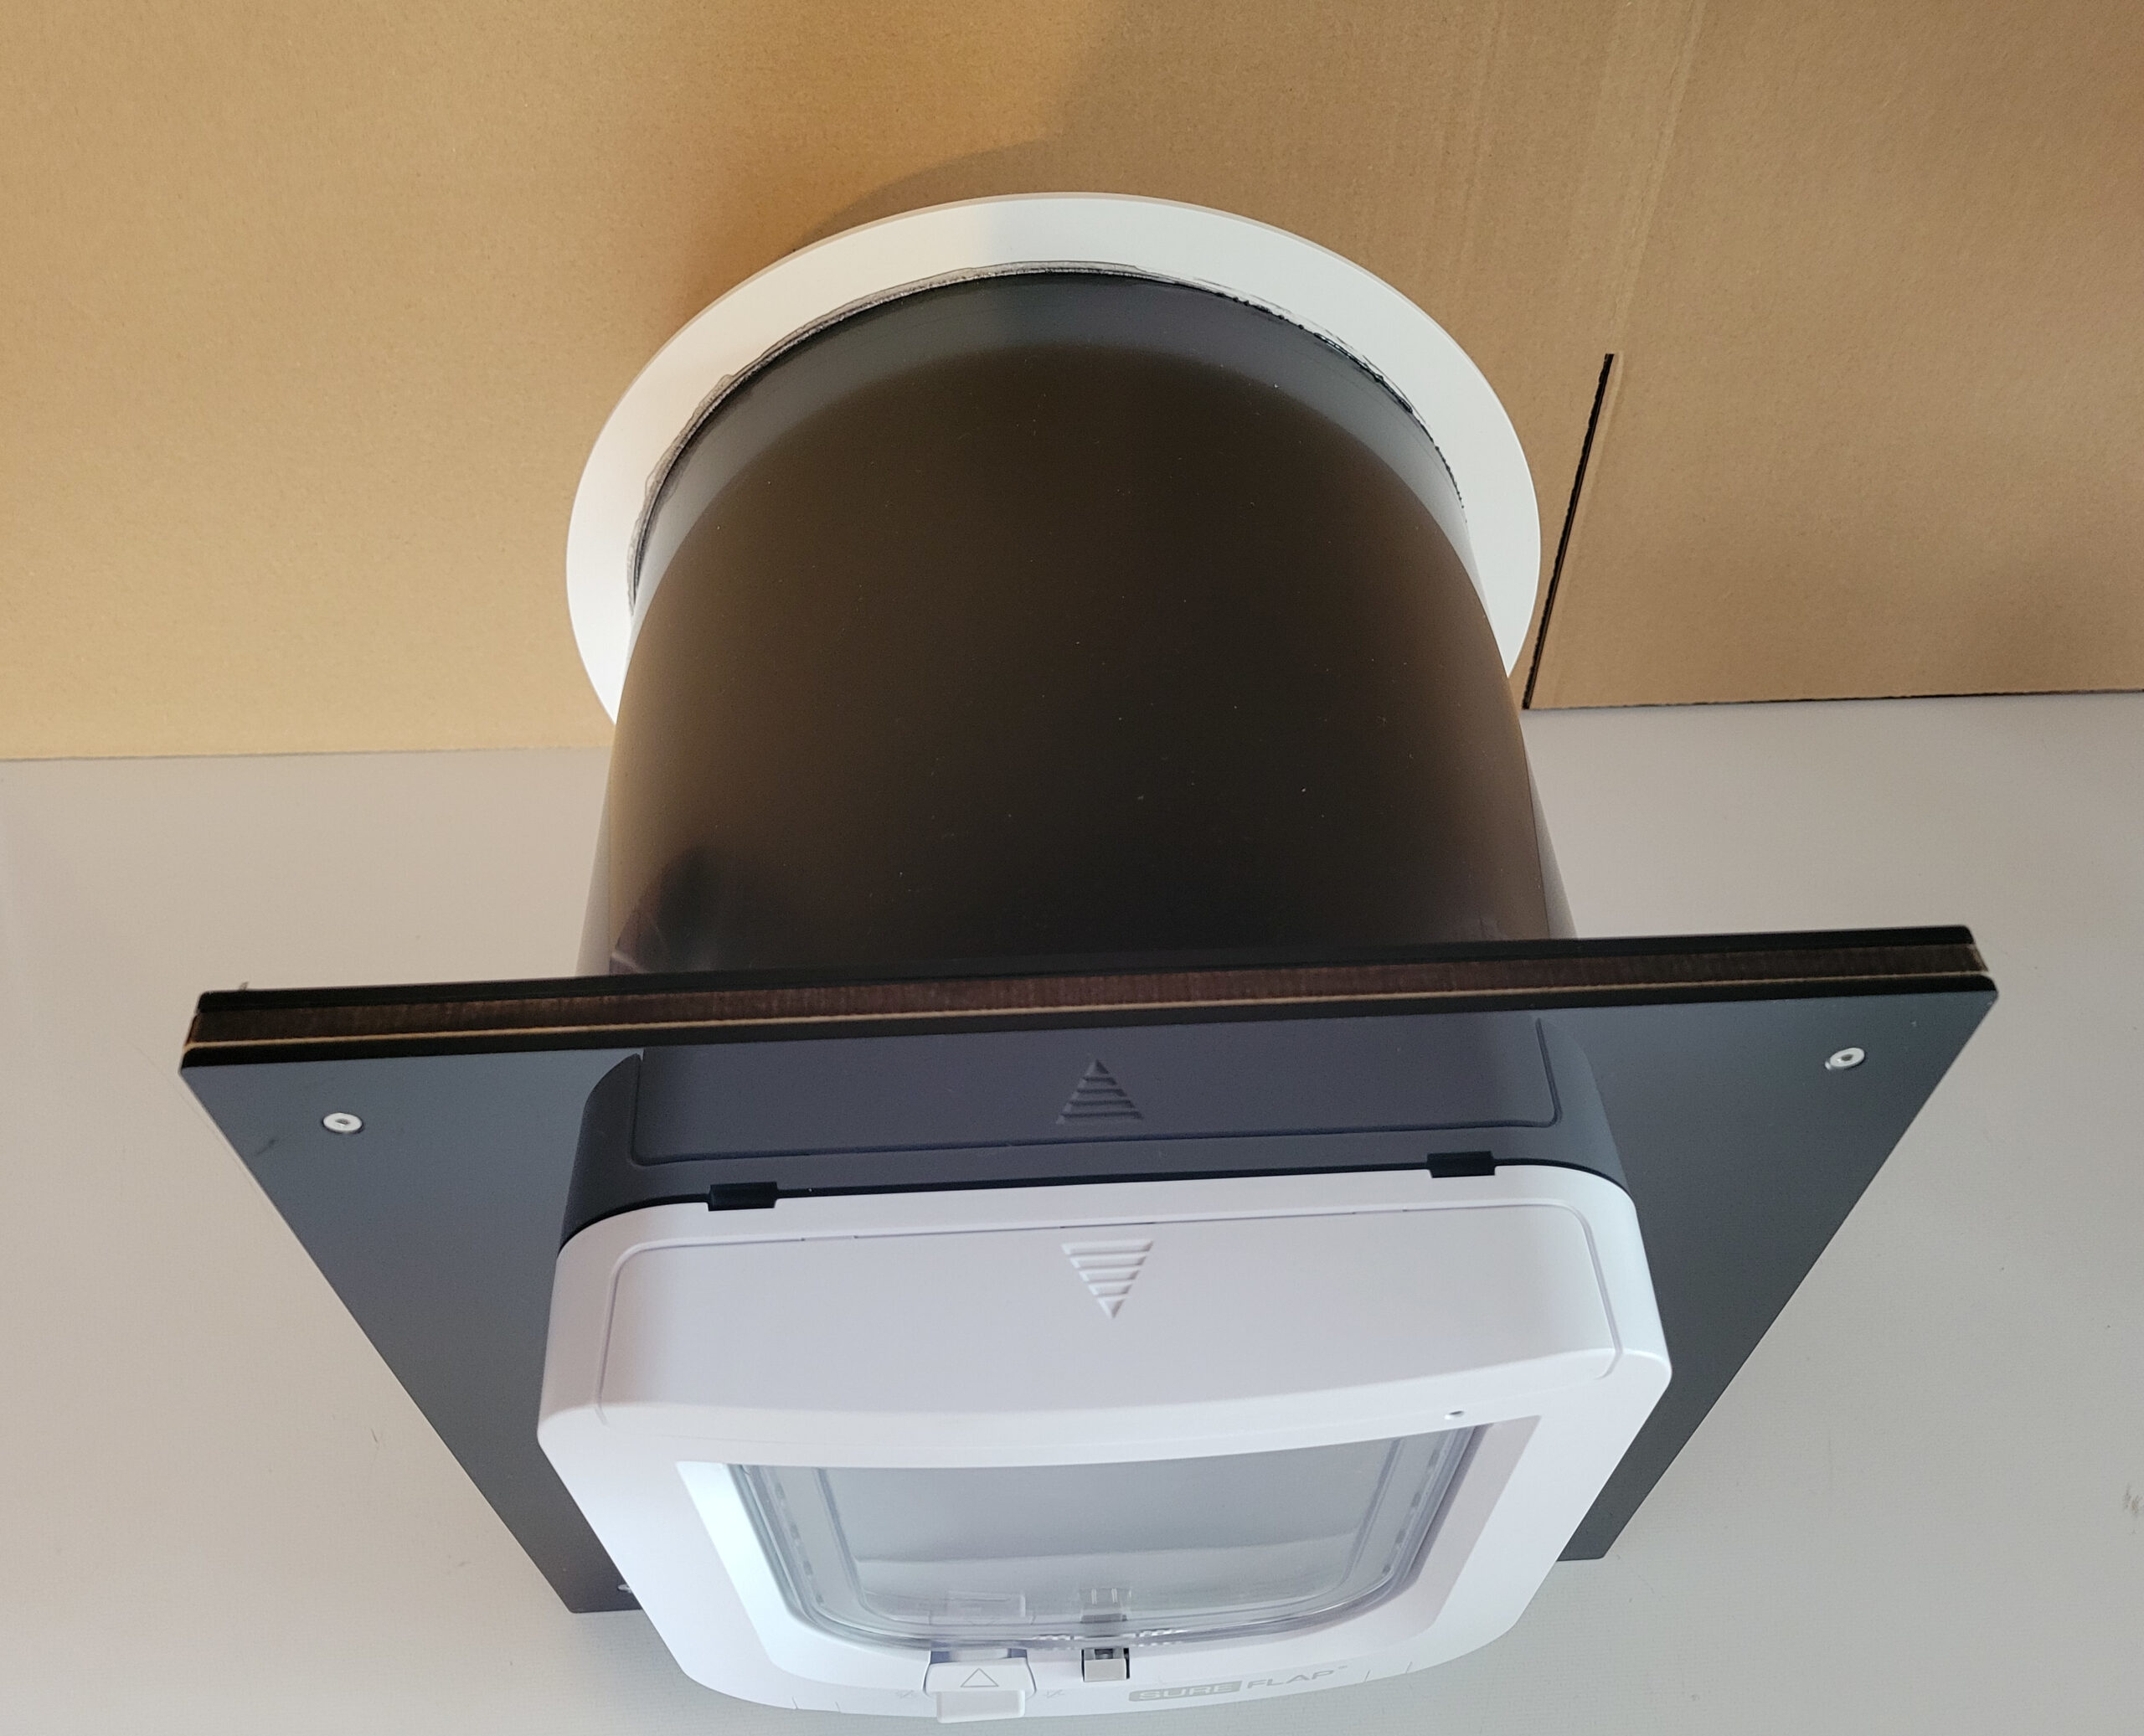
While we don’t yet have our own microchip Petflap, we can supply a Petflap with extended trunking and, at the indoors end, a standard top-hung microchip catflap. This gives you the draughtproofing of a Petflap and the access control of a microchip.
Your wall will need to be a minimum of about 200mm thick, depending on which microchip catflap you’d like fitted at the indoors end. You will need a hole 256mm diameter minimum.
Essentially fitting a Petflap into a wall is the same concept as fitting into a door. Additionally, the custom plates with the microchip catflap fitted need to be attached at the indoors end.
The plate with the microchip catflap has a circular groove on its rear that exactly corresponds to the end of the Petflap trunking. Once the Petflap is fitted and secure, sealant is applied to the rear of the plate and the groove slotted over the end of the trunking and the plate pressed against the wall. This secures the microchip catflap in place and completes your unit.
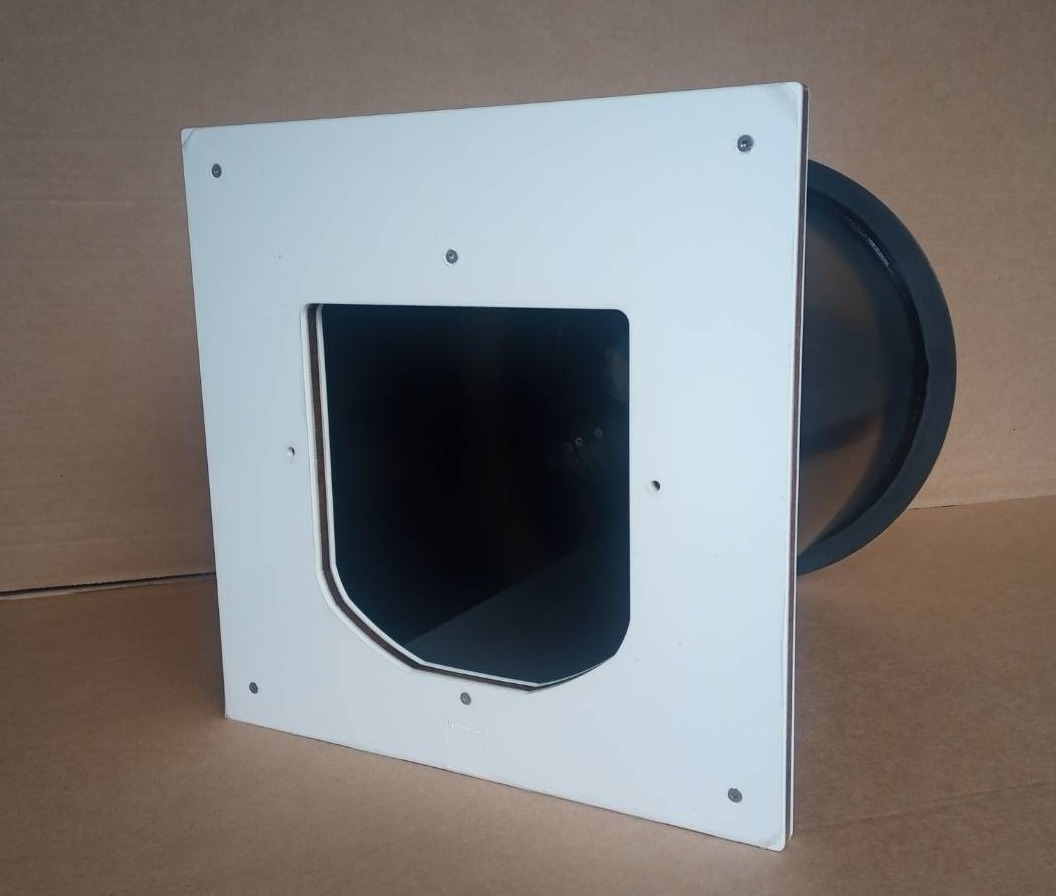
If you already have a microchip catflap fitted we can supply a unit that just has the custom plates with the aperture cut, as in the image of the mixed colour unit here. These units require very accurate wall measurements, and your existing microchip catflap will need to be removed from the wall and refitted into the custom plates.
Are you in the right place?

First step
1. Without adhesive, slide the Petflap through the hole from outdoors and check that the trunking is about 10mm longer than the wall thickness
2. Without adhesive check that the plate with the groove on the back fits onto the end of the trunking and sits against the wall
3. Test the microchip catflap to be sure it’s working properly
4. Fit the Petflap and allow enough time for the sealant to cure
5. Attach the custom plates to the trunking and the wall
Next Steps
- Your microchip catflap is supplied with new batteries fitted. Please make sure that you are happy that the microchip catflap is operating properly.
Fix the microchip catflap to the custom plates. Remove all of the the film from the rear of the custom plate.
Apply sealant to the rear of the custom plate and position the custom plate so that the end of the Petflap trunking slots into the groove on the rear of the custom plate. The custom plate unit will benefit from masking tape or similar to help hold it in place while it cures.