
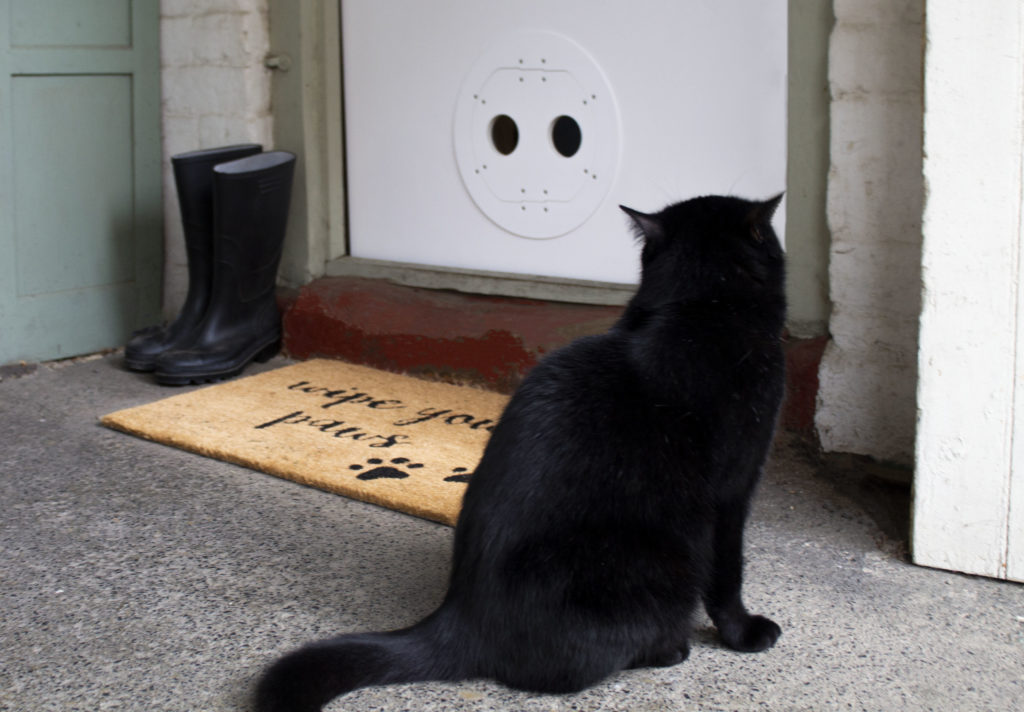
Fitting the Petflap into a door
To ensure a snug weatherproof fit please read these fitting instructions and follow them carefully.
Please note: it is vital that the hole for the Petflap is comfortably big enough. Fitting a Petflap into a hole that is too tight will impede the movement of the flap. The hole needs about 2mm of play, especially if fitting into glass. You should have a hole about 256mm.
You will need: pencil, tape, drill, jigsaw and silicone sealant.
The Petflap can be fitted into a perfectly circular hole, e.g. for glass, or one cut to the shape of the trunking. This is a matter of choice.
First step
Your door should be clean and dry. Check that it’s level and flat. A Petflap fitted to an uneven door or wall may not always close properly.
Identify carefully where the Petflap is to go.
Next step: Cutting
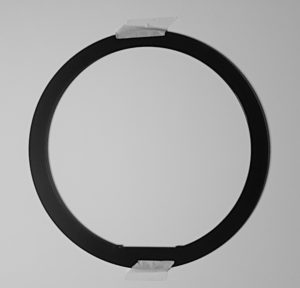
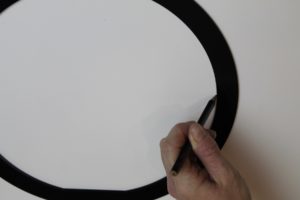
- The rear collar acts as a template. Position it at the appropriate place on the the door. A piece of tape can help at this stage.
- Draw a line inside the collar to mark the hole cut needed. If you wish to cut a perfectly circular hole, move the fitting ring round to ensure a circle is drawn all the way round.
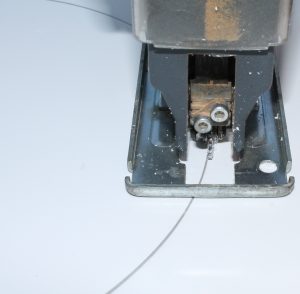
- Drill a hole inside the circle to make starting sawing easier.
- Using a jigsaw carefully cut on the outside edge of the line you have drawn. After cutting tidy up any rough edges on the hole.

Third Step
The Petflap tunnel will now slide through the hole. Test this first without applying adhesive, checking that the hole is not too tight and that the pet access flap still moves easily.
At this stage, please ensure that the Petflap is not hit through the door with a rubber mallet or otherwise bashed or hit. If the hole is big enough this shouldn’t be necessary, and small elements within the Petflap can be damaged by an impact of that sort.
Use a spirit level to check that the Petflap is true vertically and horizontally, then the Petflap can be fixed to the door. When looking from the inside of the door, fit the Petflap with the lock top left in the 10 o’clock position. The flat step goes at the bottom of the Petflap.
The Petflap should push through the hole from the external side of your door with the plate pushed flat against the door’s external surface.
Final Step
We recommend fixing your Petflap to the door with silicone sealant. With a little care the sealant can be removed if you ever need to move the Petflap.
Apply sealant to the rear suface of the external front plate and press this firmly against your door. On the other side of your door, do the same with the ring, which now forms a rear cover for the inside.
Take care to secure the main body of the Petflap so as to not to push it back through the hole when fitting the collar plate.
With a damp cloth, wipe away any excess sealant front & back.
Leave the sealant to cure for the manufacturer’s recommended time before use.
The film can now be removed. It may be necessary to wipe the Petflap’s edges as sometimes a fine dust can gather on the cut edges of the film.